{DIY} Make Your Own Custom Doormat Without a Cricut Machine
July 17, 2018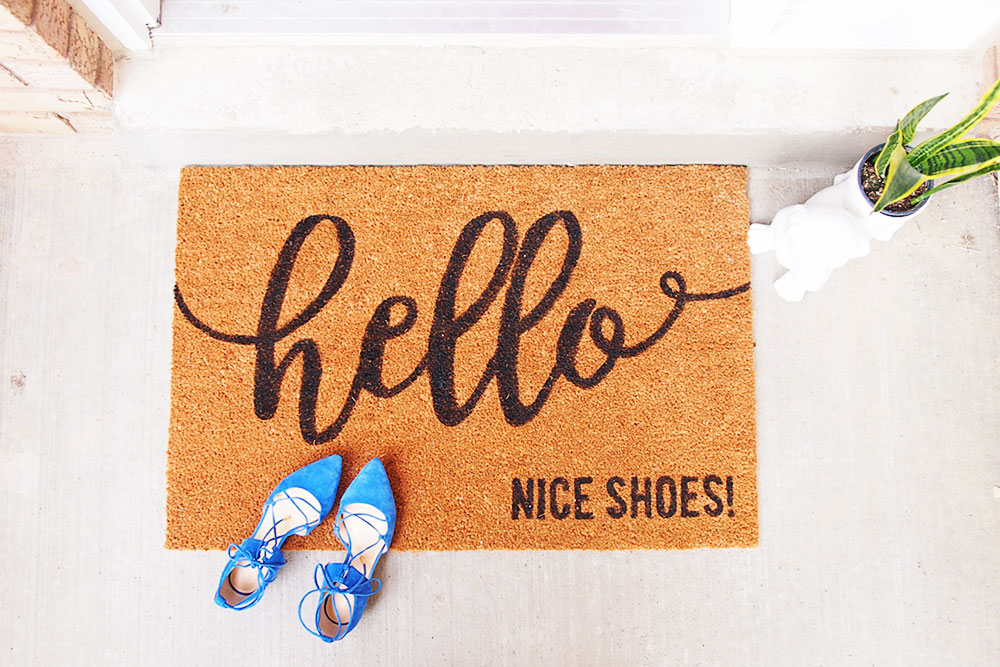
Easy DIY Welcome Doormat Without a Cricut Machine
Many tutorials on the web show you how to make a personalized welcome doormat using a Cricut machine. If you’re unfamiliar, a Cricut machine is a fancy printer that allows crafters and DIY enthusiasts to cut all kinds of materials. Steps are simple. It prints off your logo or greetings onto a piece of vinyl and it will also cut out its shape for you to stencil onto a plain doormat. This machine has been on my wish list but I still can't justify the price tag into buying one. I'm kind of secretly hoping that Santa would put it in my stocking this year. *wink* If you're like me, who may not have the luxury of owning one of these machines, I’ll show you how you could DIY this home decor without using Cricut.Let’s get started!
Materials You'll Need:
- Plain doormat
- Black Acrylic Paint
- Bristle Paintbrush
- Good ol' Printer
- Papers
- Xacto Knife
- Sewing Pins
Create Your Artwork
Start by using Adobe software or Canva to make your artwork the same size as the dimension of your doormat. Once you've done that, type in your greetings with a font that you like. Here, I used Bromello and Bebas. Save your artwork into a PDF file.
Print Artwork on Few Pieces of Paper
Now you're ready to print. But wait! You're probably thinking that the artwork is too big to be printed from your home printer, right? All you need to do is adjust your print settings so that you could break up your artwork and print them out on several pieces of paper. It’s one of my favourite trick for creating oversized stencils.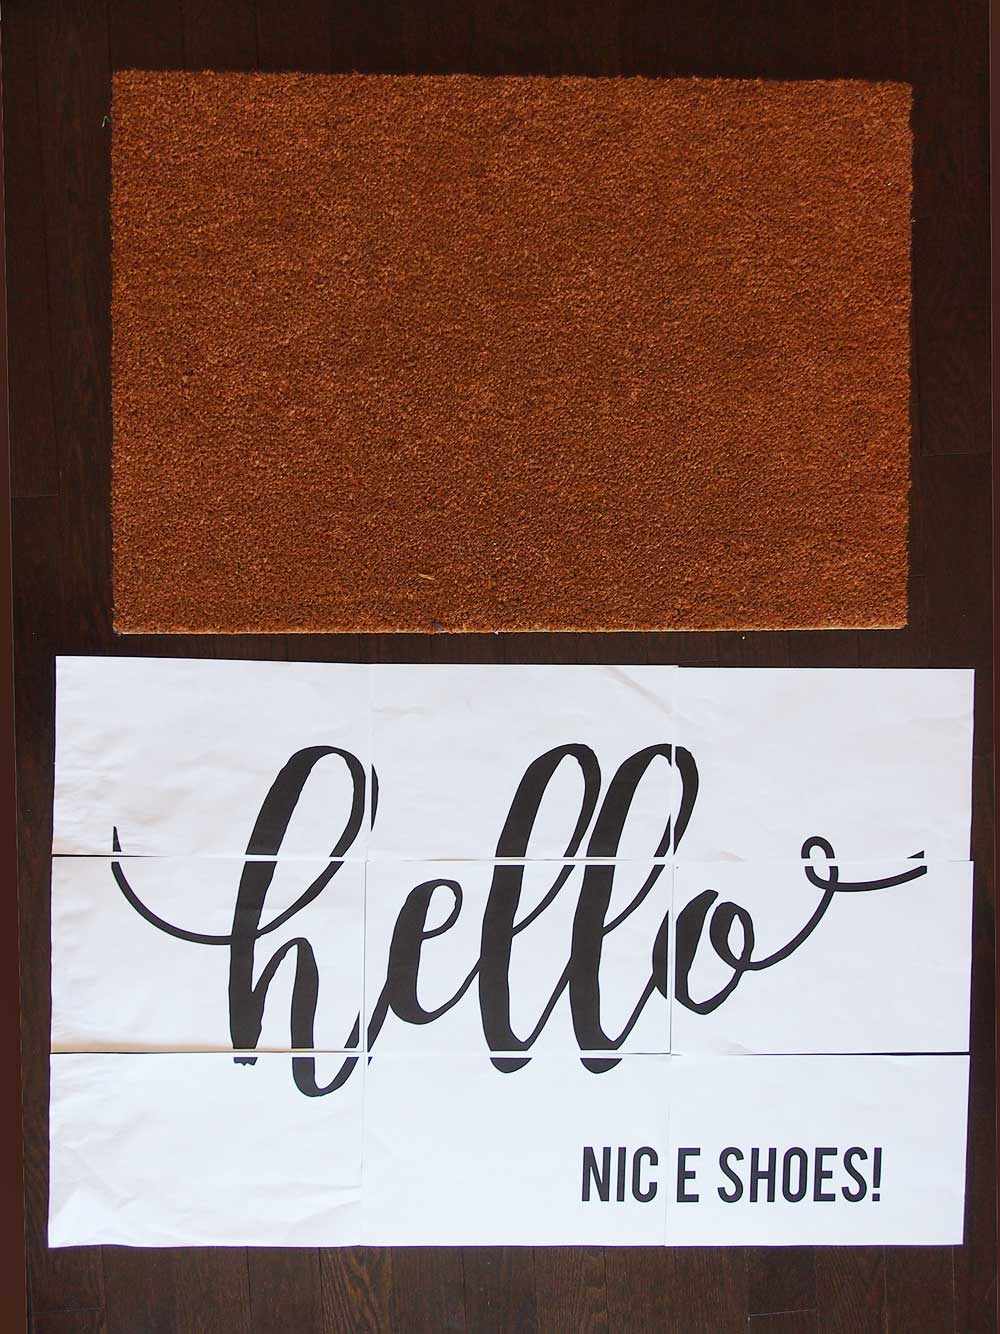
Follow the settings from the screen below:
I printed my artwork using Legal sized (8.5” x 14”) papers which I fed through using the bypass tray. You could choose to print on Letter sized papers as well. The settings would still be the same. You’d just be using more papers this way, that’s all.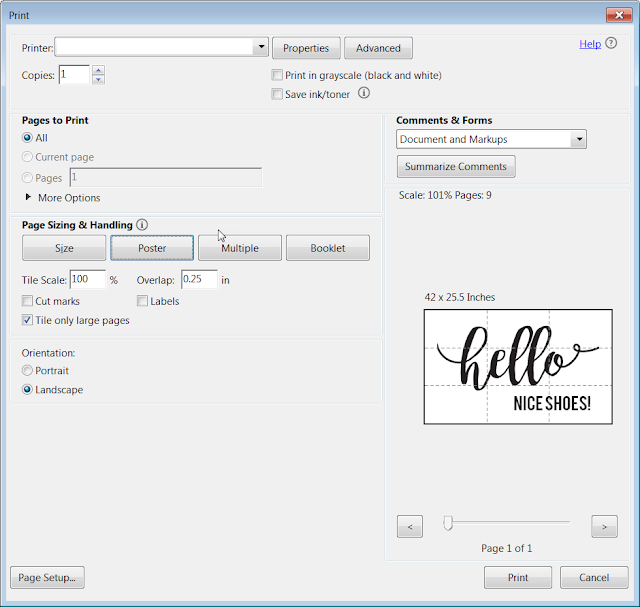
In the settings dialog window, click on Poster button.
- Enter 0.25 in in Overlap. This will create a quarter inch room for you to tape/glue the areas of the artwork.
- Select Tile only large pages
- Preview to make sure it looks something like this.
- Insert your paper to the printer and print!
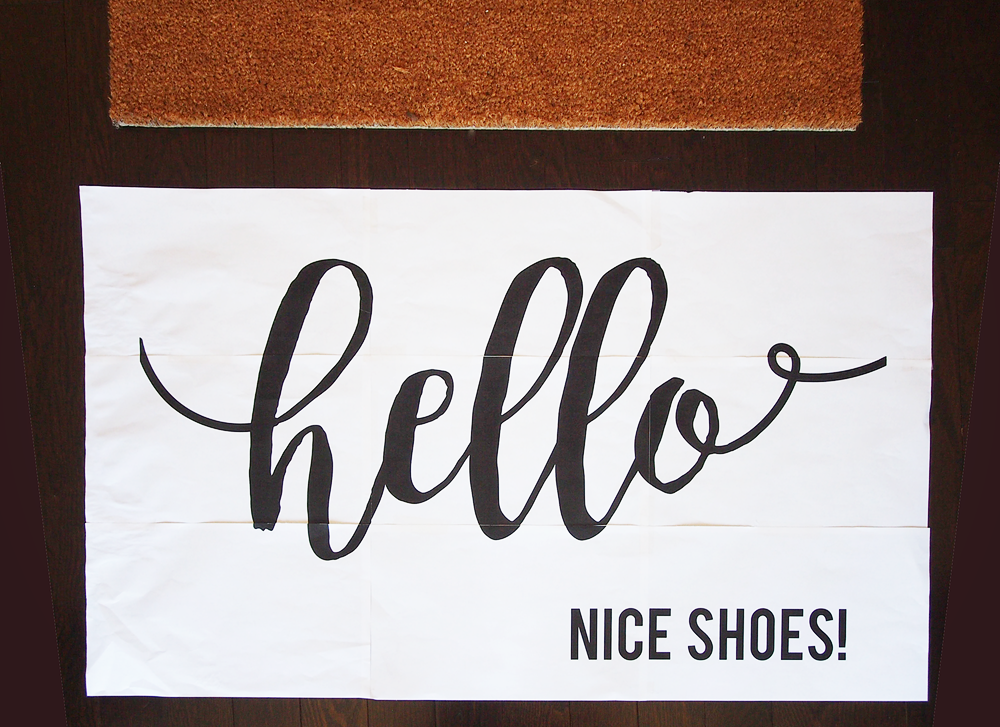
After you’ve printed your artwork, it’s time to tape all the pieces together so you can cut out the shape.
Trace Artwork with Xacto Knife
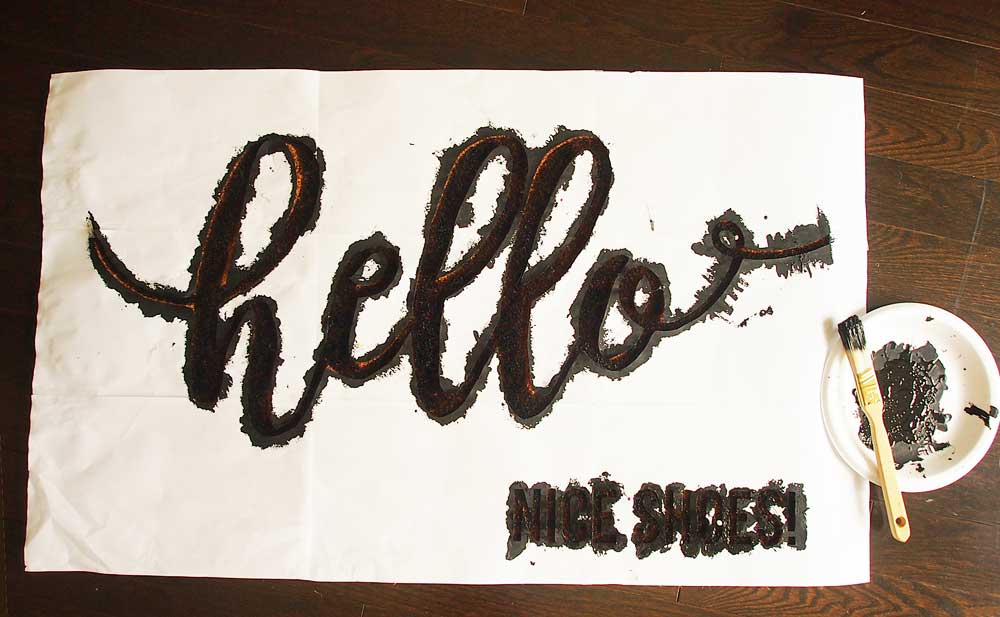
I used a Xacto knife and traced out the shape of the words. For letters that have a free standing centerpieces (such as in letter O, L, E, H) that aren’t attached to anything, remember to put these pieces aside as you’d need them later. Once you’ve finished tracing the words out, place the stencil onto your doormat and add in those centerpieces back to where they belong.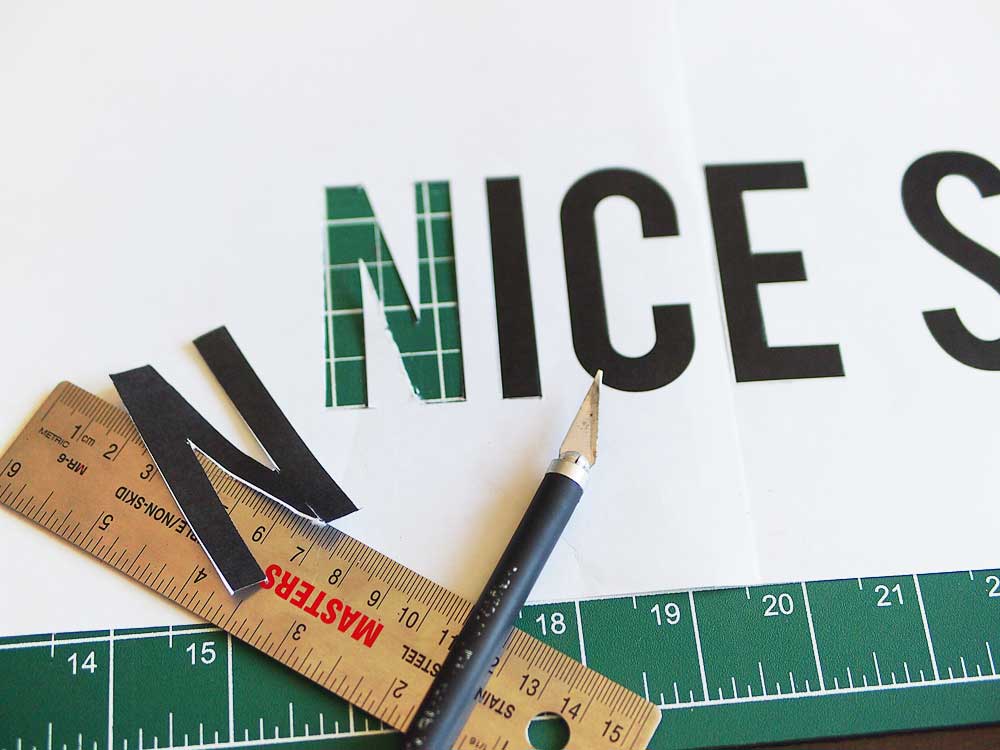
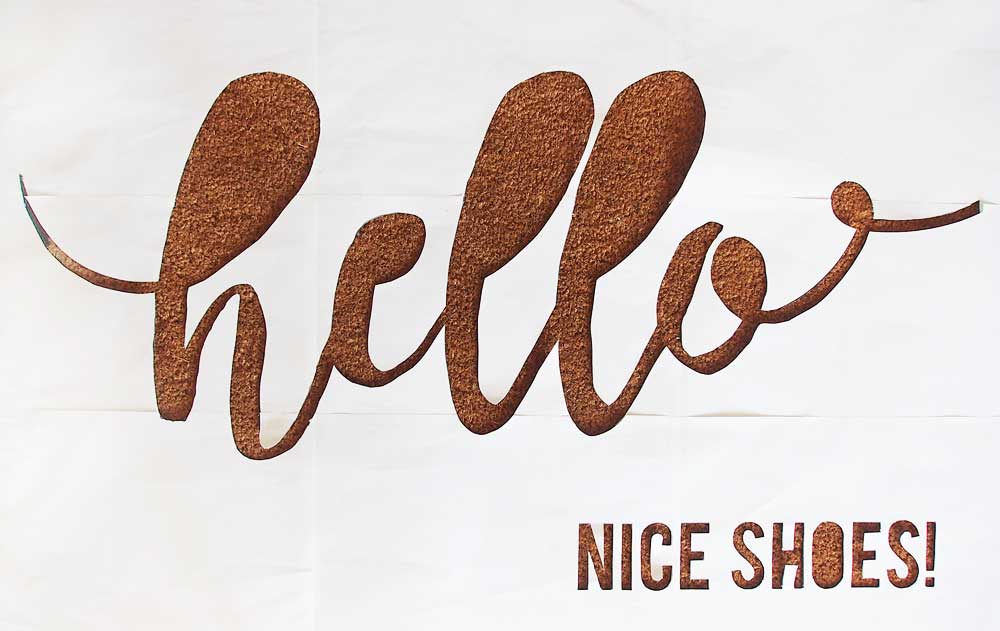
Secure With Sewing Pins
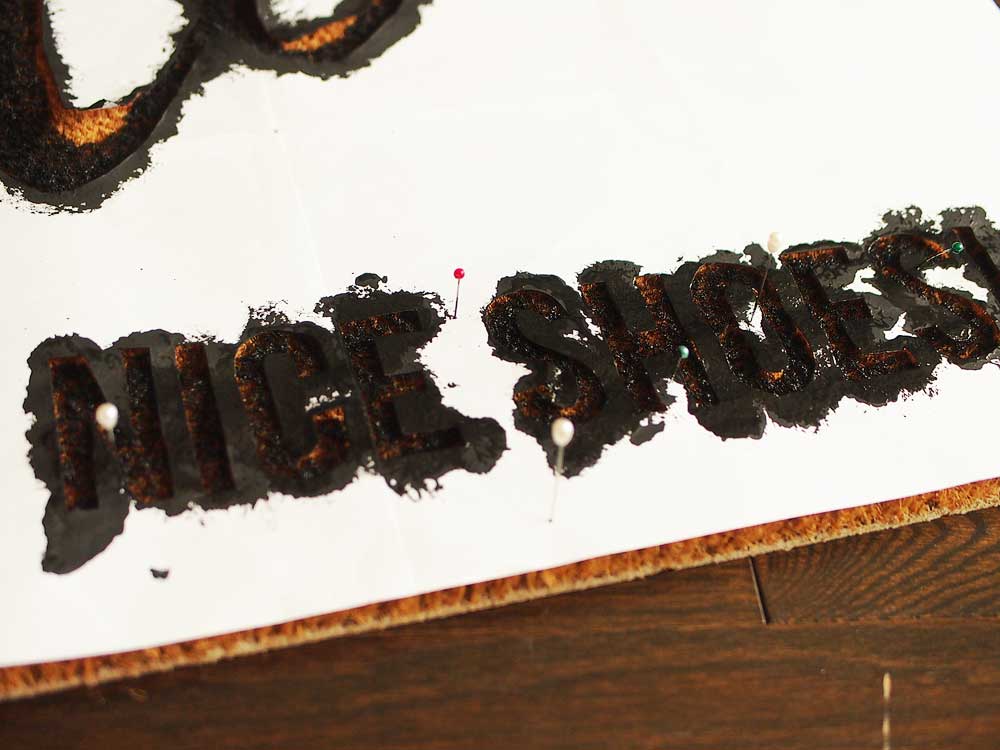
To secure the stencil artwork onto the doormat, place a few sewing pins in various areas. This way when you’re dabbing the paint, the stencil will not move around.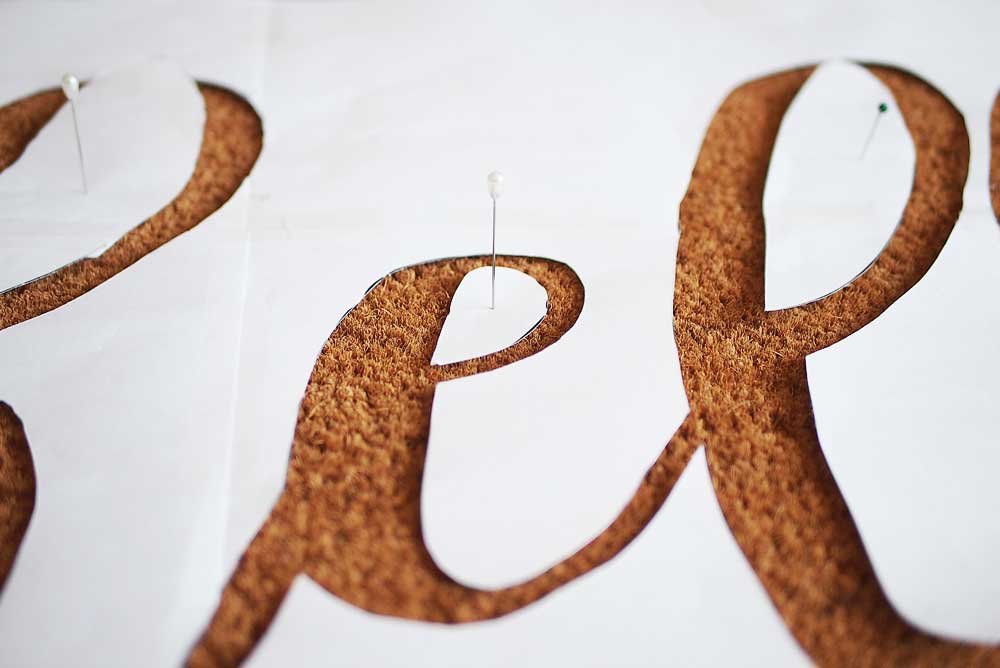
Dab Acrylic Paint With a Bristle Paintbrush
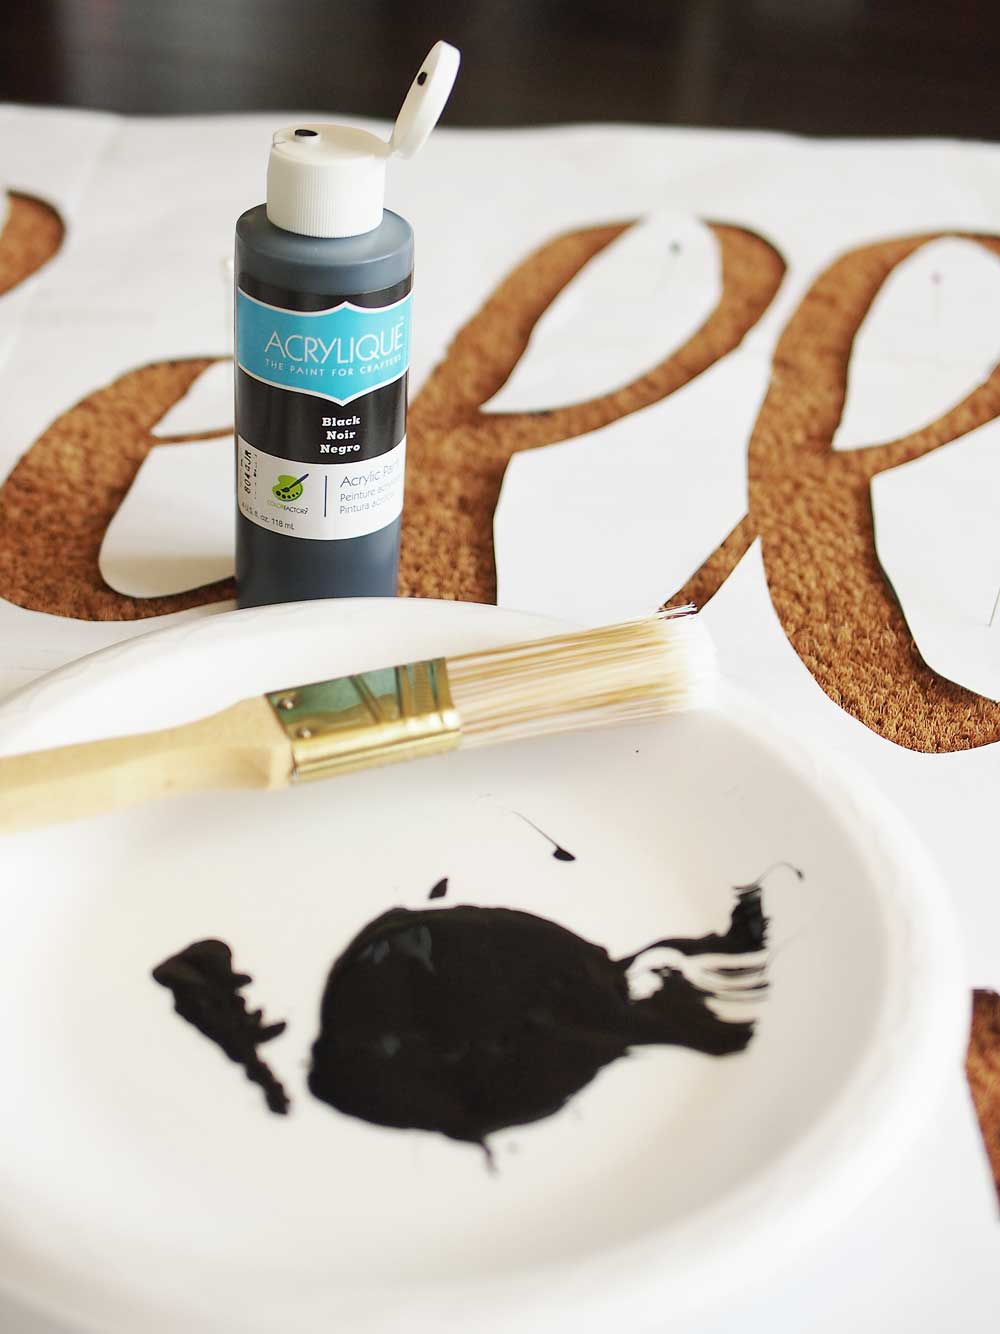
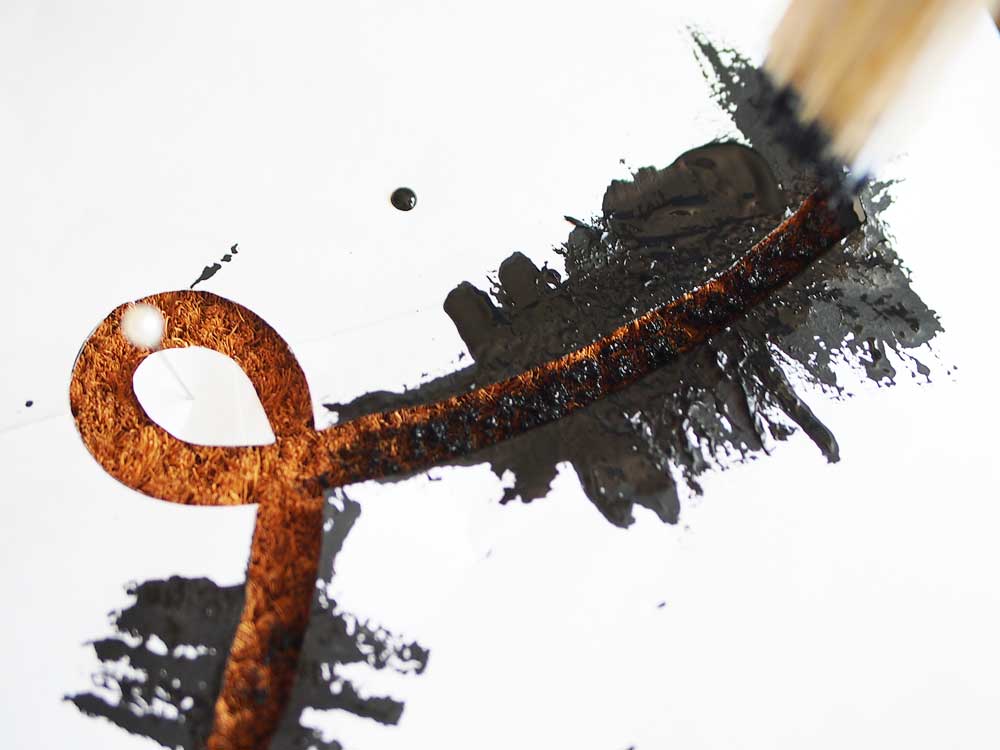
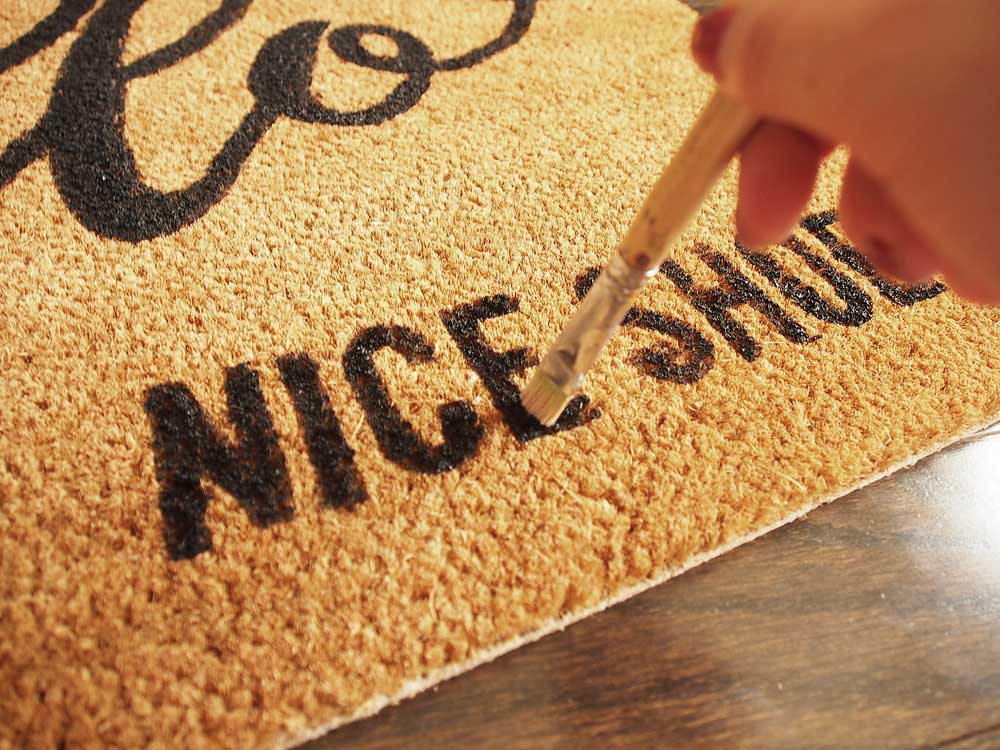
It’s important that you use acrylic paint that is fluid enough. Those little tubes from your local dollar store or craft store would work. I started mine with the tub of acrylic paint that I use for painting on canvas and it did not work well at all. The paint was too thick making it tough to cover the fibers evenly.With your bristle paintbrush, hold it vertically upright and start to dap paint all over the stencil. I first started with a foam brush and found that the foam did not do a good job in transferring paint onto rough texture. I was also unable to get paint in between the fibers. So I’d recommend using a bristle paintbrush to dab paint while also holding the stencil in place with the other hand at the same time. Once you've got enough coverage and letters are bold enough, you could remove the stencil.
If there’re any rough edges around the letters, you could dab over using a finer bristle paintbrush to darken and fine tune them. Just make sure you're still dabbing and not painting over!
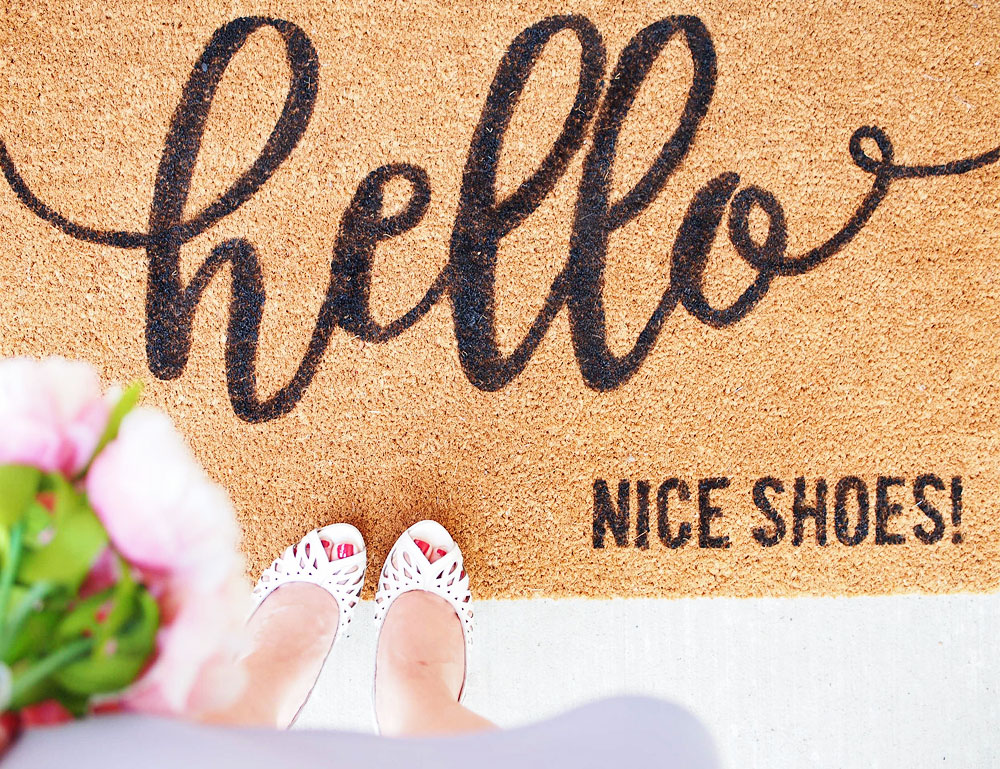
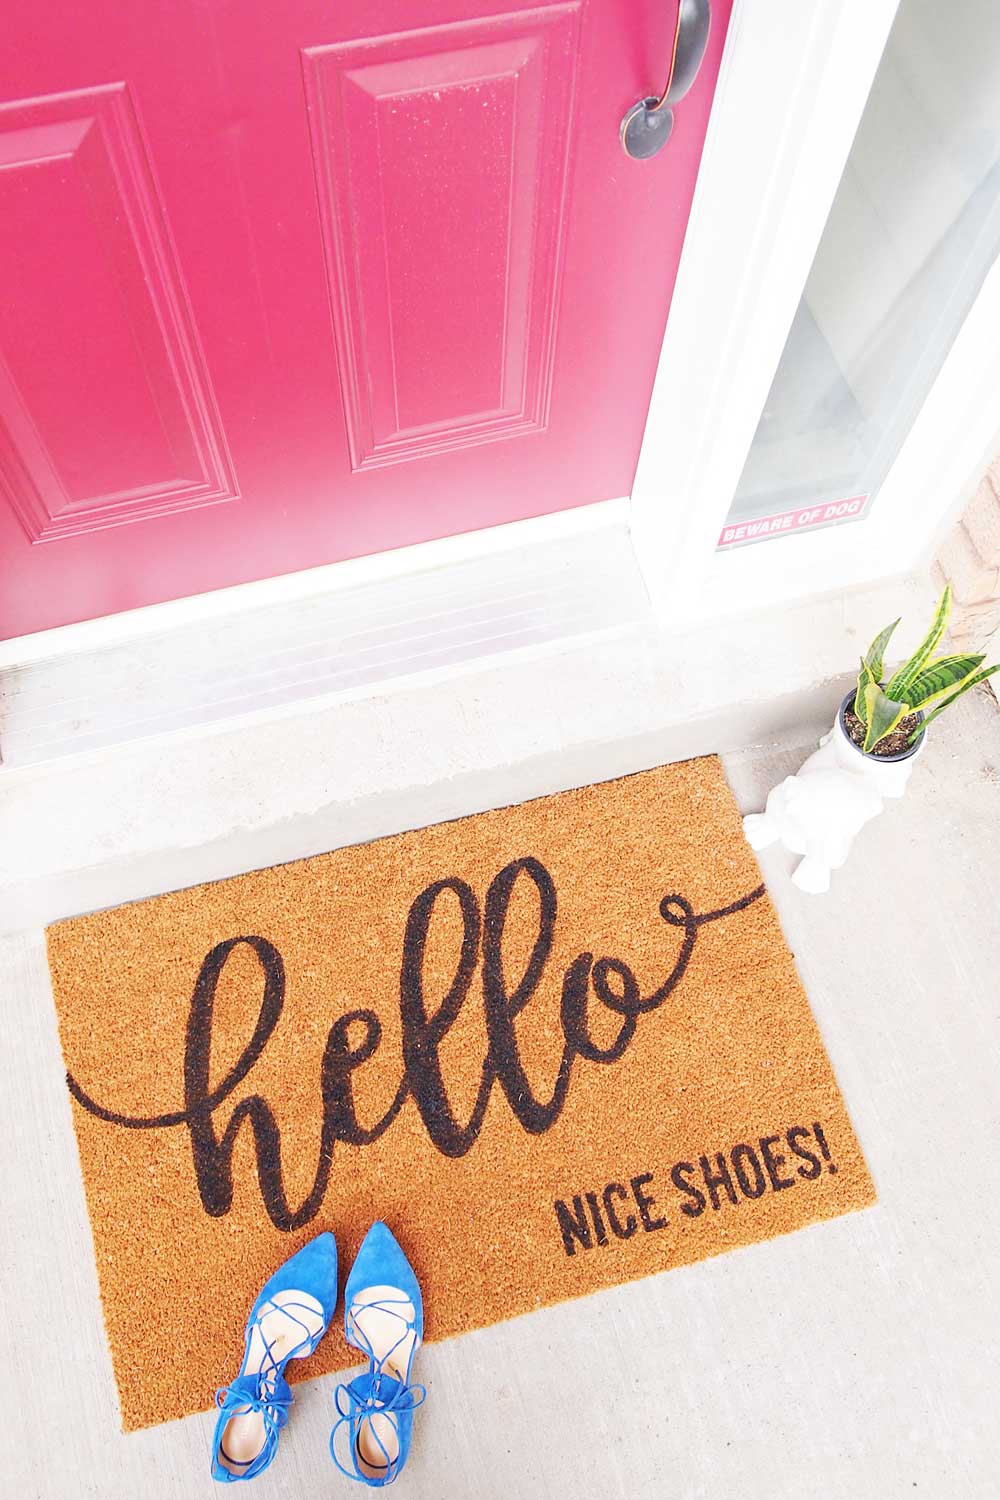
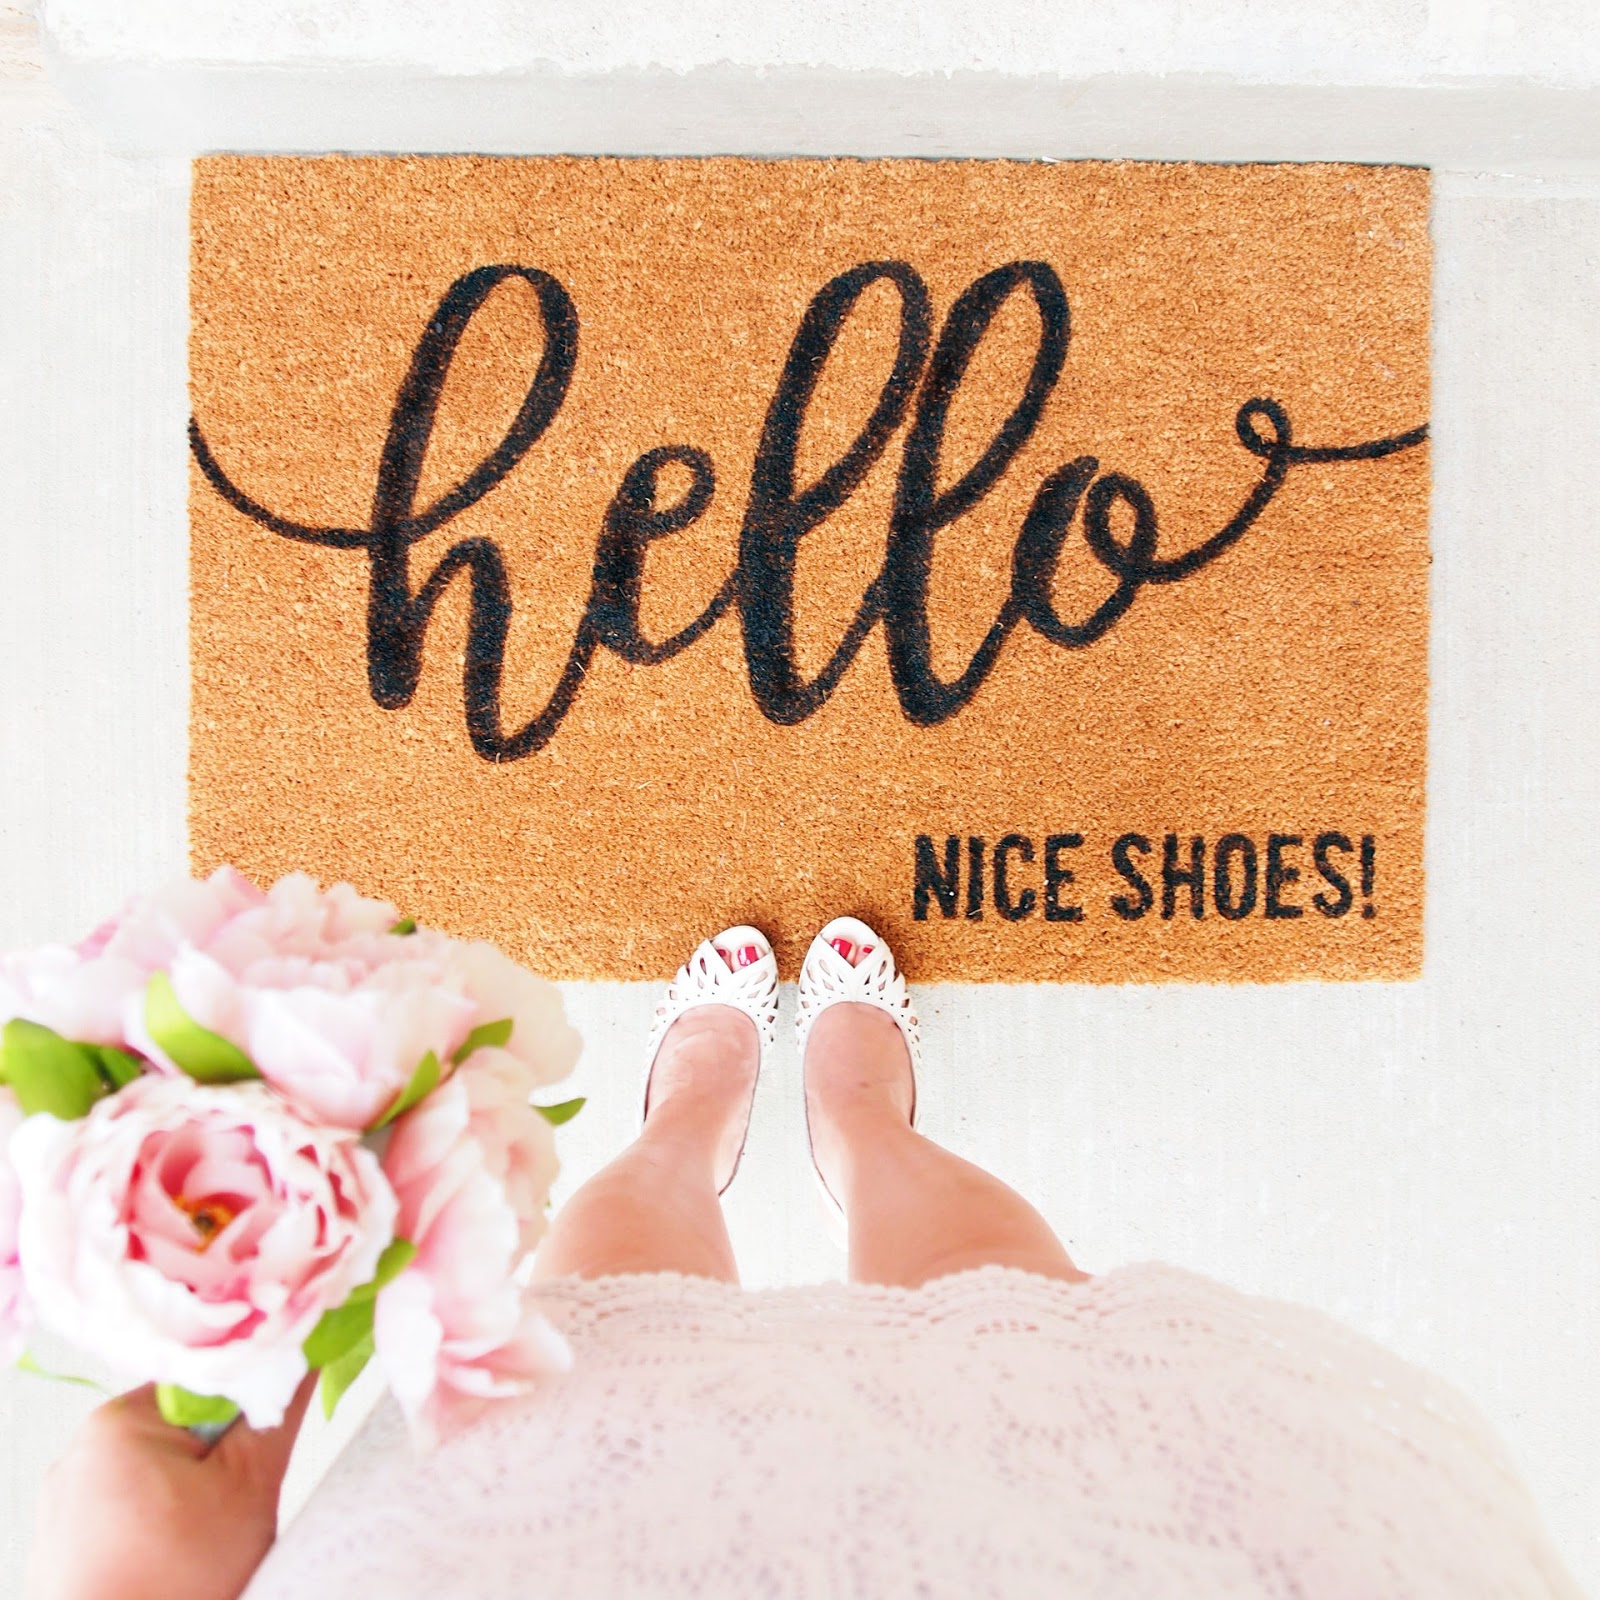
Hope you enjoy this tutorial!
Pin this for later~


![About [span]me[/span]](https://blogger.googleusercontent.com/img/b/R29vZ2xl/AVvXsEg51YZA3uff_lGfAm2WPvaPtznUF0gsieSuVaBa_d4ueEQHmGAHJoO-6IjG2QhrHsB6TFxtBe7Kp7pgPhQ9JxDPFeWf9zlhWBpmioDCq_cgwCmfvXsb3Q935VBe0Bg1yrOJFakkvZK6XQ/s1600/profile7.png)


![About [span]me[/span]](https://blogger.googleusercontent.com/img/b/R29vZ2xl/AVvXsEi0M_3kH8dItlAXTuIsv2fy6Vh66DmueOkq-Xb31dyGKOzuemaVtbrM_2rVWoIm3NFdwlpPEnezCBHeO6vHRn-aPne1M7U9EI4PUTUT6f0IyYR43irzt8-u23HGLtfqpBdheA-g6LhyQA/s608-Ic42/profile5.png)

16 comments
Wow, this is gorgeous!
ReplyDeleteThanks Juli! Hope you give it a try :)
DeleteI love this! What a fun mat, and a fun saying. It's a lovely way to greet people when they arrive at your home. Scheduled to pin. Thank you for sharing this cool project and great step by step instructions with the Hearth and Soul Link Party!
ReplyDeleteThank you! I'm so glad you enjoyed this tutorial.
DeleteHow do I print on a Mac from google chrome with these settings?
ReplyDeleteI believe the print settings are the same if you open Adobe reader on a mac to print the file.
DeleteThis is such a great idea! I love it. I enjoy trying new crafts, and I do believe this is going to have to be one I try.
ReplyDeleteThis is such a cute idea! And it seems so simple...it will add a nice touch to any front porch!
ReplyDeleteWhat a great idea. It was well design as well thanks for sharing
ReplyDeleteThis is amazing! I never would have thought to make my own. Thanks for this easy-to-follow guide!
ReplyDeleteWow this post is very inspirational, didn't know that you could make your own doormat, will definitely try this myself. Thanks for sharing!
ReplyDeleteWow you did it awesomely with less cost on your part. A great DIY for home and living :)
ReplyDeleteHi, how would water/rain affect this?
ReplyDeleteI have this for over 2 years now and the letters are still very sharp and visible. But I also have a covered porch though.
DeleteWould love to see how you created your design in Canva! Could you do a tutorial on that please? Could really use some pointers!
ReplyDeleteIt should be no different on how to create your artwork. It's your print settings that you'll need to adjust in order to print on multiple pages
DeleteI'd love to hear your thoughts and comments! Come back soon :)