How to Make Your Own Instagram Story Template {Tutorial + Free Download}
April 08, 2019
Due to popular demand from my tutorial on how to make Instagram Highlight Covers, I'm sharing another Instagram tutorial today! And that is to make your own Instagram Story Templates! Woot!
Since you're reading this post, I assume you're already familiar with what Instagram stories are and are an avid user. But, for those of you who haven't been taking advantage of this feature, I encourage you to get started now because you're missing out! Instagram stories are a fun way to increase your engagement and build your brand. Photos and videos posted on Instagram Story will vanish after 24 hours. You could add stickers, hashtags, geolocation and animated gifs to make your story look more interesting.
What are Instagram Story Templates?
These are pre-made layout where you could make your stories look more cohesive with your brand. Some big influencers like to share fun facts about themselves to their followers using these templates. And for this tutorial, I'll show you how you can make these templates to share about yourself and for your followers to do the same.Without further ado, let's get started!
How to Make Your Own Instagram Template
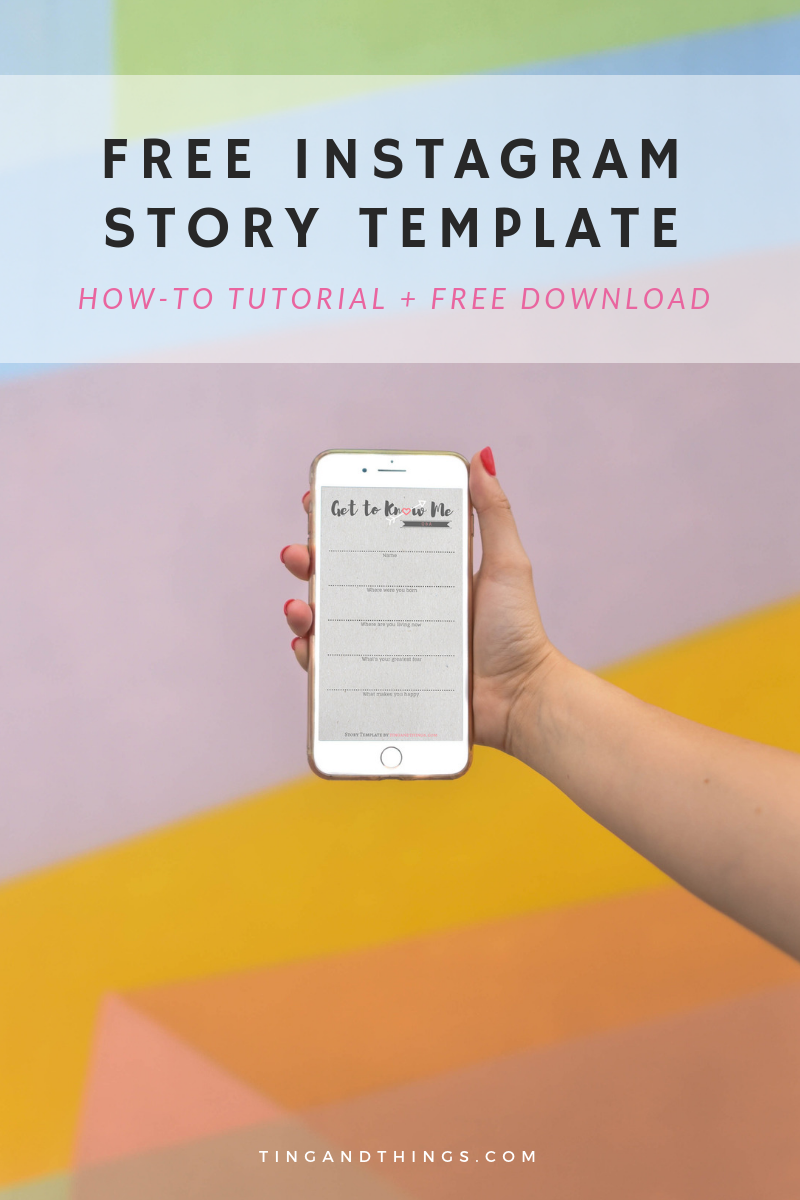
By the end of the tutorial, you'll be able to create your own Instagram Story templates like these:

1. Sign up or Log in to Canva
Sign up a free account at Canva.com. I love using Canva for blog and social media graphics. It's just super easy to use (I save my Adobe CC for more advanced, complicated stuff).
2. Create a Design
In the search bar at the top, type in Instagram Story. A suggested template with the size of 1080 x 1920 px will show up.
3. Choose a Background
On the left panel, click on background. Select one that matches your brand's look and feel. I like to use a textured background to add some visual interest. To do that, click on uploads and upload a textured background of your choice or use the available backgrounds in Canva.
Once the background is uploaded, drag it to the canvas. It will automatically be locked into position on the canvas.

4. Add a Title
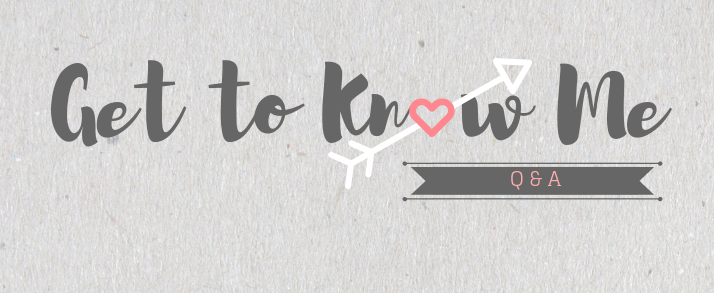
To add a title, select text on the left panel. Click on add a heading and position it to the top of the canvas. Choose a font that you like from the top toolbar. For this tutorial, we'll use Brusher. Type in "Get to Know Me" and make font size to 58.5 or adjust the font size to make your own title fit onto one line.

5. Add Graphic Elements
Select elements on the left panel and scroll down until you find an orange banner that looks like this. Edit the text to say "Q&A" in 12 font size. Make the banner grey or a colour that matches what you've used for the title.

6. Add Input Lines
You'll need to create some input lines for yourself or other people to type in their answers. In the same elements panel, choose lines from one of the 9 icons at the top. Select the dotted line for this tutorial or a line that you prefer. Change the colour to match the title to make it look more cohesive. You'll want to make sure the line is thick and the colour is bold enough so people can see on their mobile screen. Repeat this step until you have 5 lines on the page. Align all of them to the middle of the page and make sure they're distributed evenly.

7. Add Input Headings
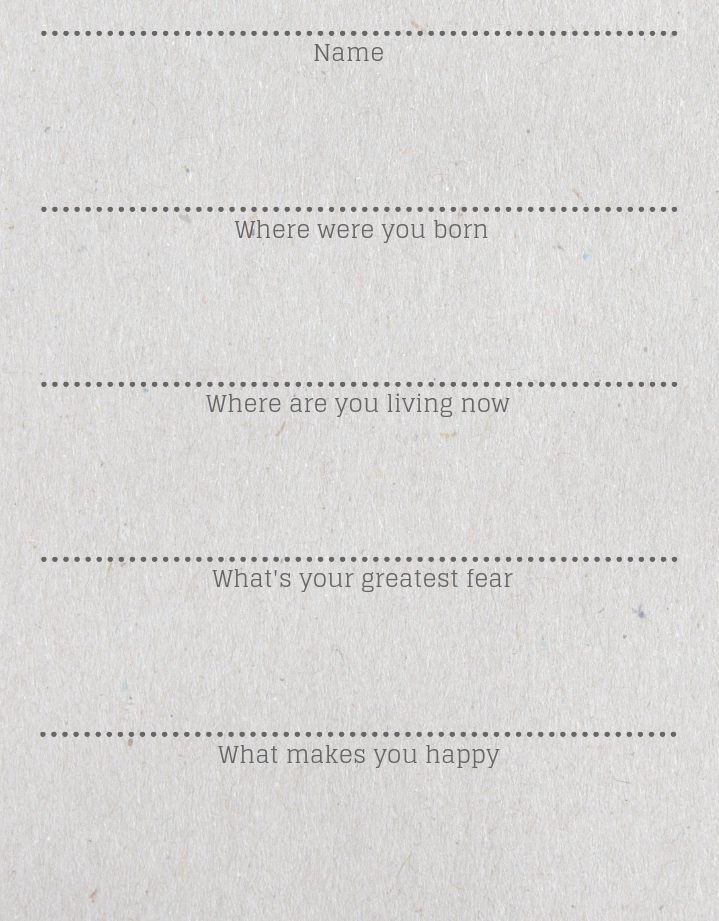
Similar to adding a title, select text on the left panel. You can choose a font that you like but for this tutorial, I went with Glegoo in size 14. I personally like the contrast between the thin strokes and the bold thick title. It adds visual interest to the template. Add and edit text for each of the following:
- Name
- Where were you born
- Where are you living now
- What's your greatest fear
- What makes you happy
Align each of these text underneath the input lines and in the middle of the page. Tip: when you drag elements to the canvas, there will be a blueprint line that tells you where the middle point is.
8. Copy the Page and Repeat
Now that you've created the first Instagram story template, copy this page using the icon on the right side. The one that looks like 2 pages stacked together. Change the title to something else (ie: This and That, Facts about me) without changing the font. You want all your templates to be consistent with each other. Remove the rest of the elements depending on what your template to look like.
To make 2 columns of text, simply add text and hit the return key after each word to create the first column. And align the 2 columns side by side on the page.
To add a world map, go to elements and search for 'map'. Choose the one that's free in the list of options. And change the colour to a lighter shade of your title.
9. Add Visual Interests
This step is optional, You'll see that I have added a heart and a bow graphic to replace the letter "o" in my titles. The pink heart matches my brand and my site's favicon. This is just to add a bit of my personality to the templates. To do this, select elements from the left panel, and click icons from one of the top boxes. Choose an icon that best matches your brand.
10. Save and Download
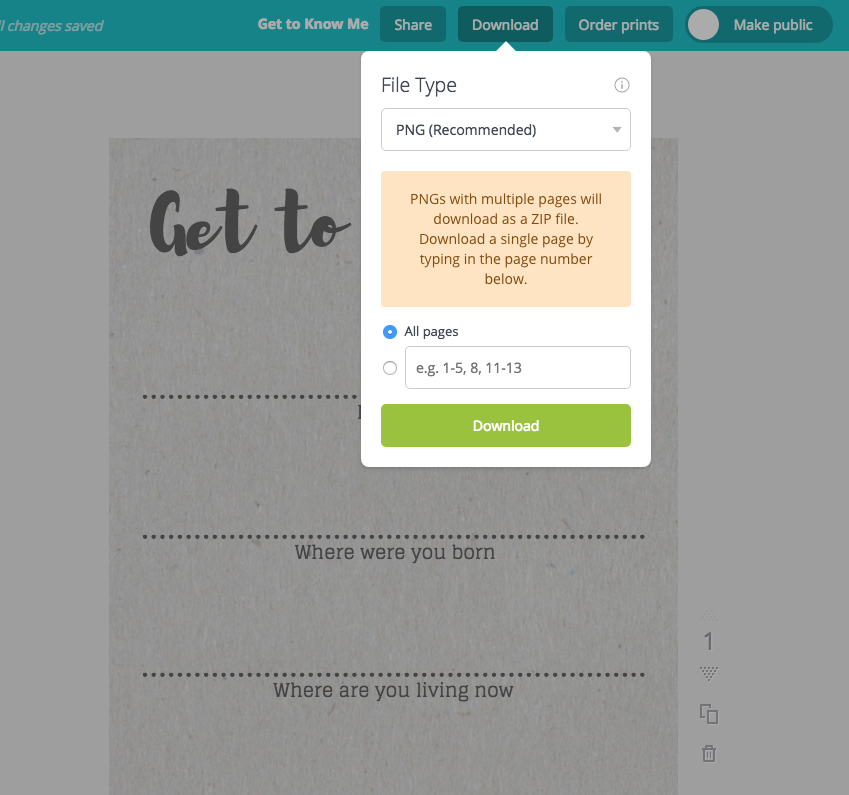
Click the download button at the top right corner as PNG files. Now all you need to do is to save these files into your Dropbox account. If you don't have a Dropbox account, don't worry!
Sign up for free and get an additional 500 Mb of storage space now!
Access your Dropbox account via your mobile device and save those templates onto your device.
11. Post Template to Your Story
Go to your photo album and add the template to your story. Add your answers using the text input tool or use a pen tool to circle answers. Post it to your followers. You could also post a blank version for your followers to repost and do the same.
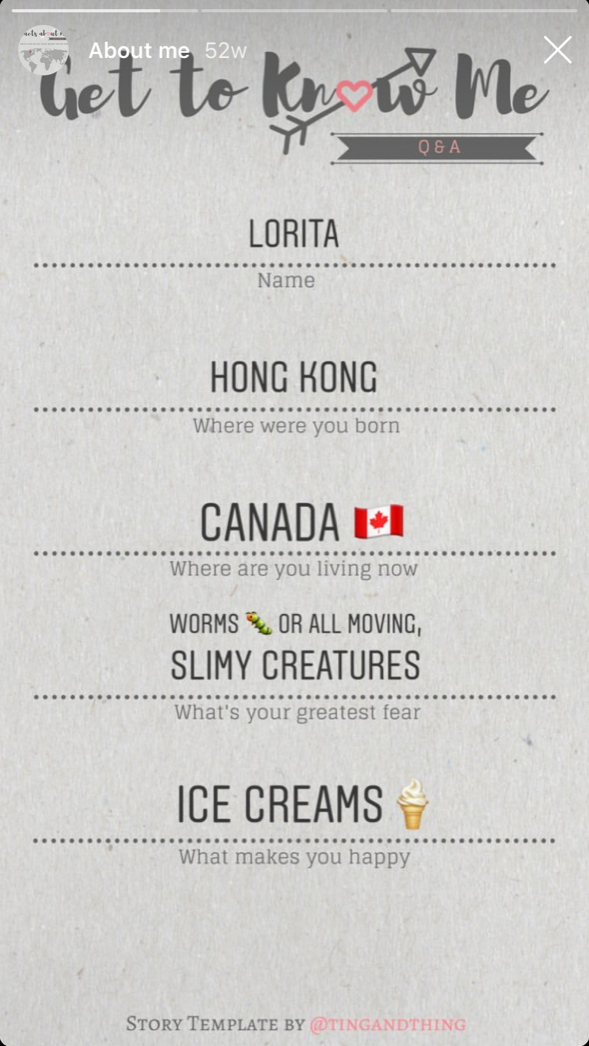


I'm also giving away this set of Instagram Story Templates that I created in this tutorial for free! Download from the link below.
Click here to download your free Instagram Story Templates
I hope you enjoy this tutorial and freebie!
Let me know what other tutorials would you like to see!
Shop for Set of 70 Instagram Highlight Covers Now!
Pin this for later~


![About [span]me[/span]](https://blogger.googleusercontent.com/img/b/R29vZ2xl/AVvXsEg51YZA3uff_lGfAm2WPvaPtznUF0gsieSuVaBa_d4ueEQHmGAHJoO-6IjG2QhrHsB6TFxtBe7Kp7pgPhQ9JxDPFeWf9zlhWBpmioDCq_cgwCmfvXsb3Q935VBe0Bg1yrOJFakkvZK6XQ/s1600/profile7.png)


![About [span]me[/span]](https://blogger.googleusercontent.com/img/b/R29vZ2xl/AVvXsEi0M_3kH8dItlAXTuIsv2fy6Vh66DmueOkq-Xb31dyGKOzuemaVtbrM_2rVWoIm3NFdwlpPEnezCBHeO6vHRn-aPne1M7U9EI4PUTUT6f0IyYR43irzt8-u23HGLtfqpBdheA-g6LhyQA/s608-Ic42/profile5.png)

5 comments
Thank you so much for this, it's a life saver!! I love finding out more about people in their stories and these little templates are great. I've always wondered how to make my own and now I know, thank you!!
ReplyDeleteI'm so glad you find it helpful :)
DeleteGreat post! I'm always on the lookout for new ways to get creative on social :)
ReplyDeleteThanks so much. So lovely.
ReplyDeleteThis is awesome! I love the screenshots and actionable tips. Thank you
ReplyDeleteI'd love to hear your thoughts and comments! Come back soon :)