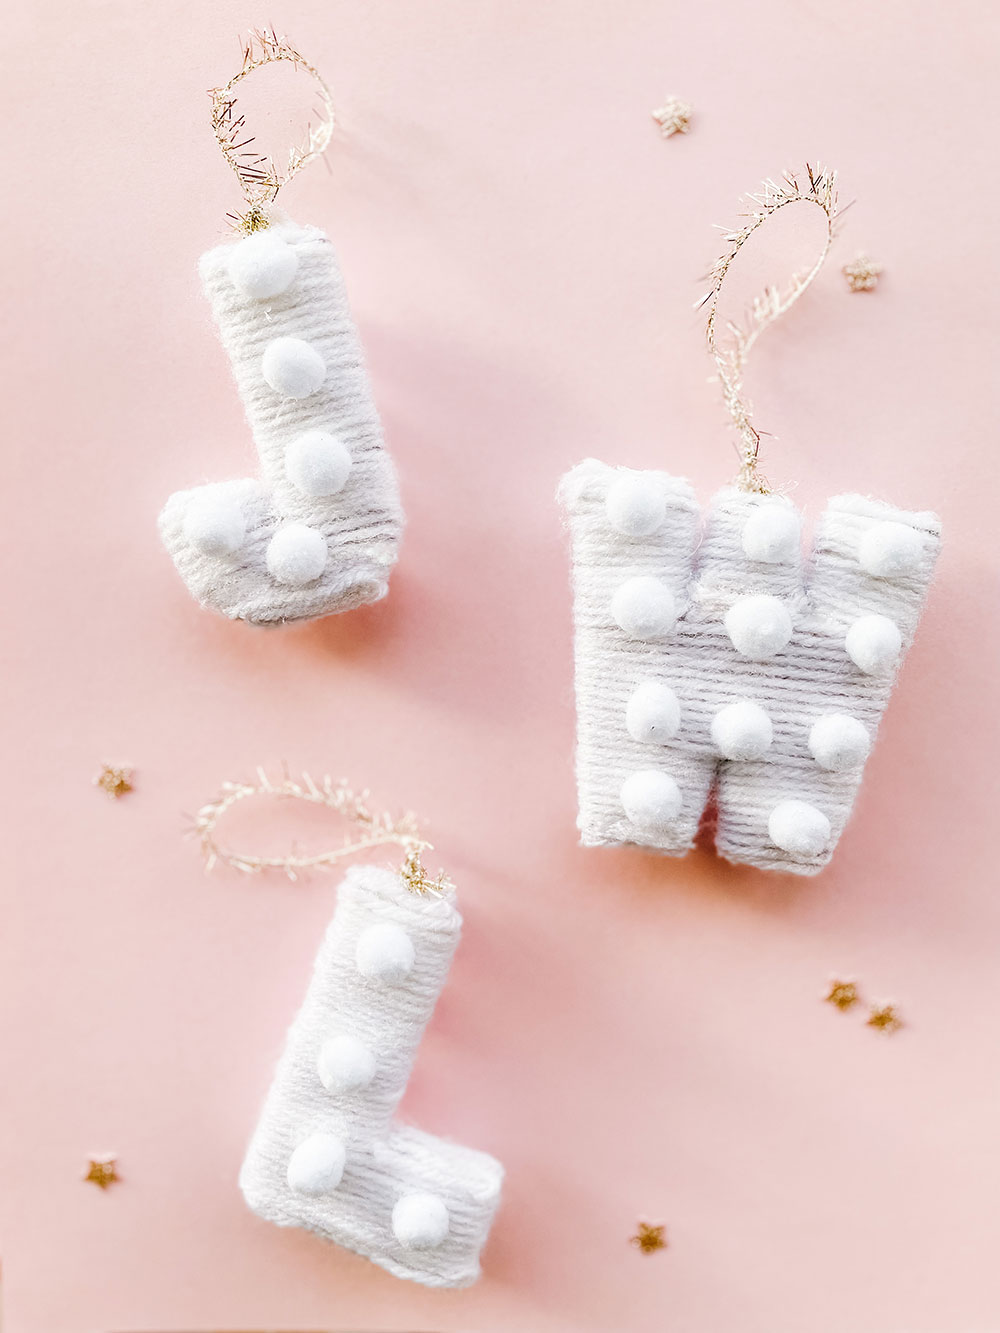
DIY Yarn-Wrapped Letter Ornaments
December 08, 2021
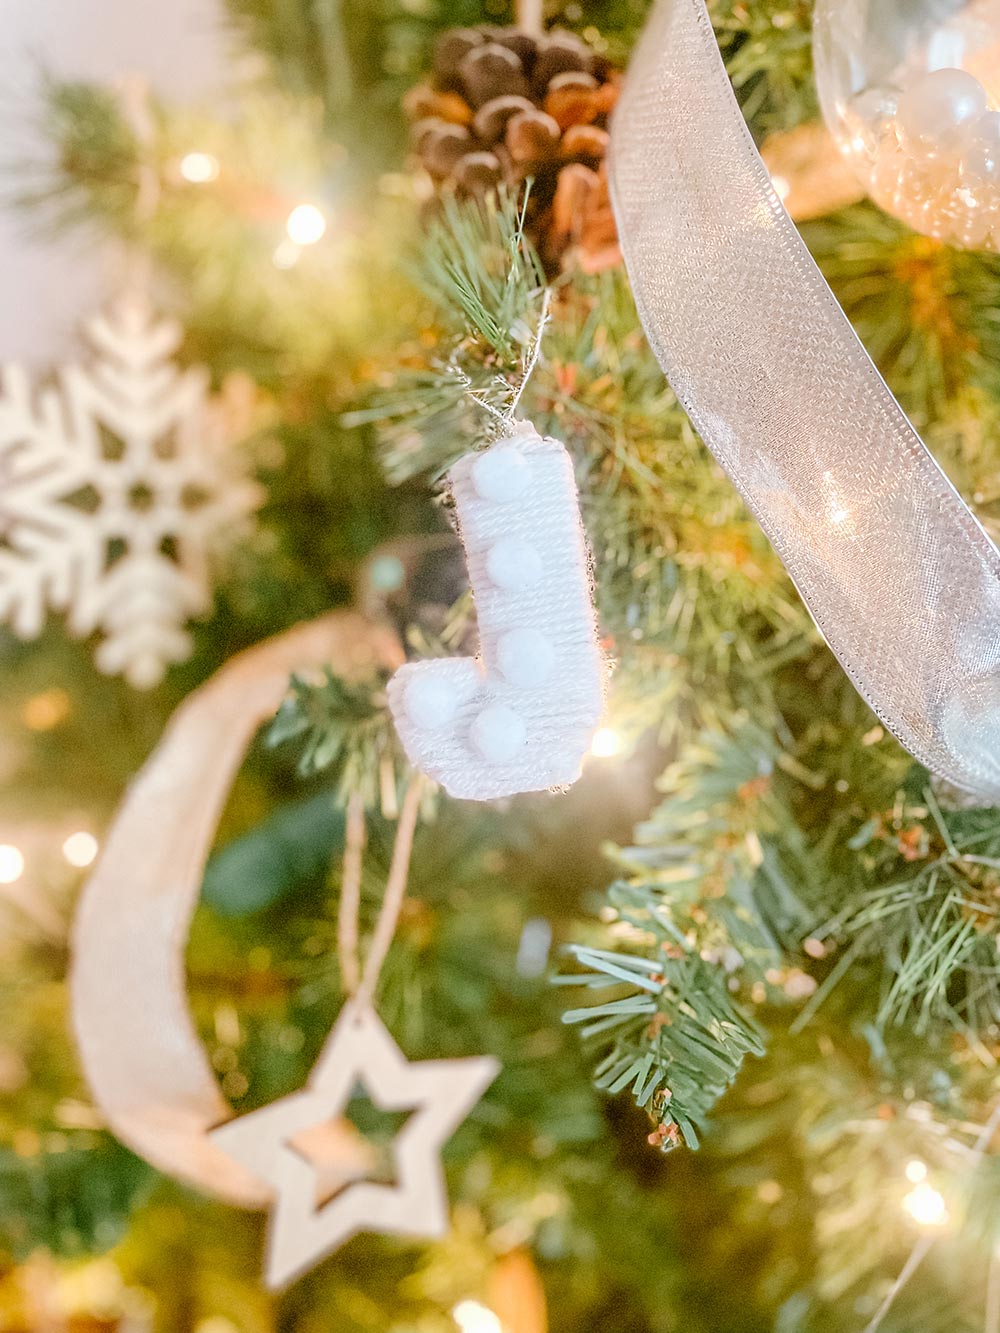
Justice loves these ornaments since he's at the stage where he can identify alphabets. He'd point at his initial and say, "J" out loud. He had fun helping me put up ornaments to our tree. But at the same time, it makes me realize how fast he's growing up. He was only able to crawl under the tree and touch the ornaments at the bottom last holiday.
I think this DIY ornament would be a great craft idea to do with kids too. It's so simple and requires almost zero cost (well, except the money that actually went into your Amazon purchases). But isn't it fabulous to put those Amazon boxes to good use? And nobody could tell that these were made from cardboard boxes!

How to Make Yarn-Wrapped Letter Ornaments
Supplies you'll need:
- White Yarn
- Tinsel Yarn (I got mine from Oomomo's craft section!)
- Cardboard (Put those Amazon boxes to use!)
- Mini pom poms (The dollar store is your best friend)
- Scissors
- Glue gun
- Tape (optional)
Instructions:
Trace out letters onto your cardboard and cut them out with scissors. I cut 3 pieces for each letter to add some dimension to the letters.Then, glue the end of the yarn to the letter and start wrapping the letter until the entire letter is covered. Seal the yarn end with hot glue.
Cut out a piece from the tinsel yarn and tie a knot at the bottom. Hot glue the knot onto the top of the letter. And that's it!
This tutorial is so straightforward. But in case, you want to watch how I did it. Head over to my Instagram for the video of this tutorial.

I hope you like this DIY tutorial! If you give this a try, be sure to share your pictures with me on Instagram and tag @tingandthings_ or use hashtag #diywithting. I'd love to see your take on it!
Happy crafting and have a wonderful holiday!

Happy crafting and have a wonderful holiday!


![About [span]me[/span]](https://blogger.googleusercontent.com/img/b/R29vZ2xl/AVvXsEg51YZA3uff_lGfAm2WPvaPtznUF0gsieSuVaBa_d4ueEQHmGAHJoO-6IjG2QhrHsB6TFxtBe7Kp7pgPhQ9JxDPFeWf9zlhWBpmioDCq_cgwCmfvXsb3Q935VBe0Bg1yrOJFakkvZK6XQ/s1600/profile7.png)


![About [span]me[/span]](https://blogger.googleusercontent.com/img/b/R29vZ2xl/AVvXsEi0M_3kH8dItlAXTuIsv2fy6Vh66DmueOkq-Xb31dyGKOzuemaVtbrM_2rVWoIm3NFdwlpPEnezCBHeO6vHRn-aPne1M7U9EI4PUTUT6f0IyYR43irzt8-u23HGLtfqpBdheA-g6LhyQA/s608-Ic42/profile5.png)

1 comments
This comment has been removed by a blog administrator.
ReplyDeleteI'd love to hear your thoughts and comments! Come back soon :)